
Words: Nick Dole | Photos: iKapture
Horsepower is only a good thing if you can put it to use; if it can drive you out of a turn faster or allow you to climb a big hill easier. If you ride a 250cc four-stroke, you aspire to it. But if you have a 450cc or bigger with 45 to 50 ponies, chances are you’re looking to make it more manageable, rather than more powerful. Which is why suspension has become more of a focus in the past decade.
Increasing numbers of riders have come to realise the critical role suspension set-up plays when it comes to reducing lap times and minimising rider fatigue. More forgiving suspension allows you to maintain lap times throughout a moto, nail a special test at the end of a long trailride, or to slay the boys on that final gnarly hillclimb back to the carpark. Suspension is pretty simple really, with springs and dampening its two main elements. Springs support the combined weight of bike and rider and are sensitive to the position in the suspension’s stroke.
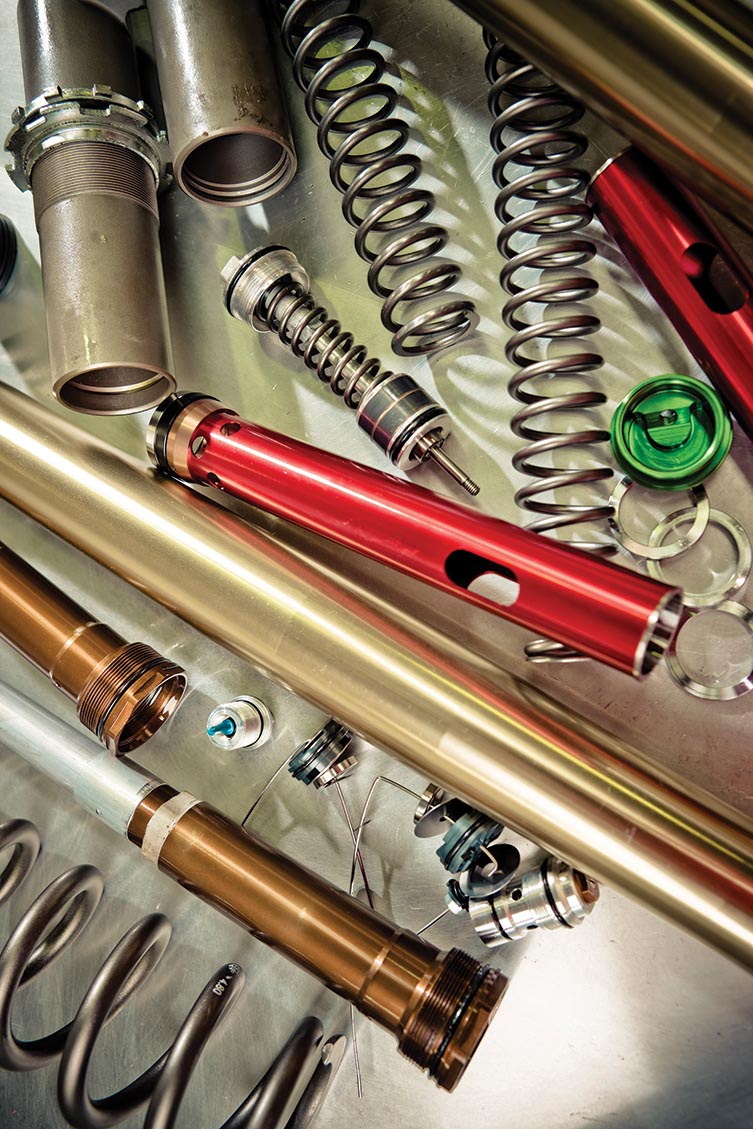
Dampening, on the other hand, is sensitive to speed. We still use oil as the dampening medium (under gas or mechanical pressure) in all rear shocks and closed-chamber (or twin-chamber) forks. It’s the manipulation of dampening character where vast strides in development and technology continue to take place with the release of each new year-model. So the question is, how do we make our suspension work for us?
Well, given that bike owners typically have three price-points when they’re thinking about upgrading their suspension, we figured it’d make sense to take each amount – $500, $1000 and $1500- $2000 – and look at what it’ll buy you in the way of suspension parts and labour. And, for you cashed-up mining characters, we’ve thrown in a “Sky’s the Limit” section. It gives you a snapshot of what it’ll cost you to buy the sort of trick gear many of the factory-supported teams run.

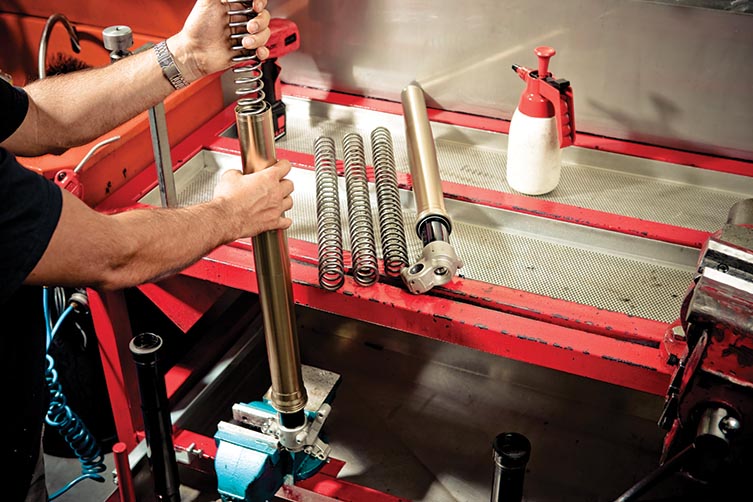
Like most mechanical workings of a dirt bike, suspension components operate in a harsh environment. And just as your engine needs routine maintenance, so too does your suspension. Sadly, this is something few owners properly understand. Five hundred bucks will buy you a service – a fluid change in fork and shock and renew some seals – and this in itself will do a lot for performance. After 25 hours’ use, fork and shock fluid will start to contaminate from dirt and particles of aluminium, Teflon, nylon, plastics and steel – all of which are used in suspension componentry. And after 50 hours (12 months for the average owner), performance suffers so much that a service itself will make a noticeable improvement in handling.

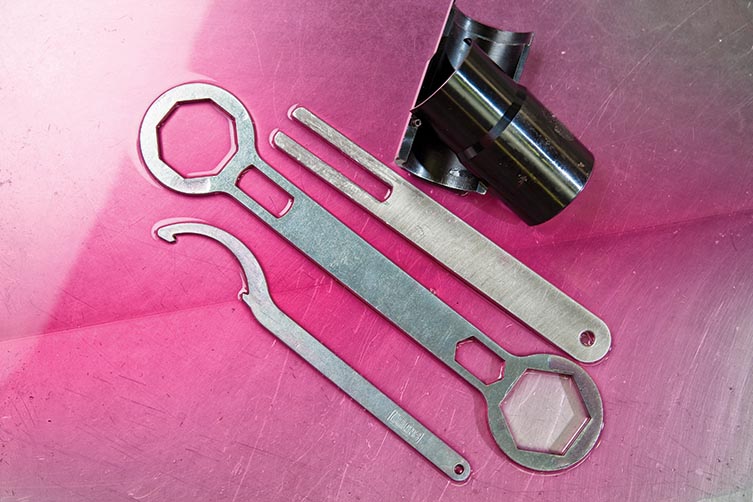
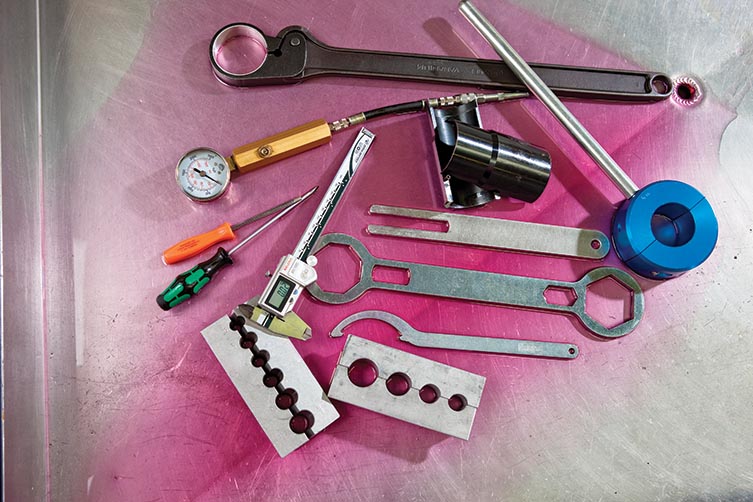
Fork cap spanner
Cartridge holder
Fork seal driver.
Expect to pay $200-$250 for a set of tools that’ll allow you to service your own forks.


- $500 will buy you shock service special tools, including nitrogen regulator and fittings.
- There’s no consistency across companies’ viscosity ratings, so check our online Centistoke testing scale to compare.
- As fork seals and wipers are consumable, it’s better to use genuine parts as they have less sliding friction due to additives in the Butadine rubber and coatings on the sealing face.
- Simple problems such as axle alignment can cause stiction. Be kind to your fork axle with some anti-seize and a soft hammer when you put the axle in.

When a motorcycle is manufactured, it’s set up for the mythical ‘average rider’, based on whatever the manufacturer deems their target market to be. Typically, this is 75-80kg on most 250s, and 85kg for most 450s. So if you fall above or below these weights – even by 5-10kg – then a spring rate change will create major benefits.
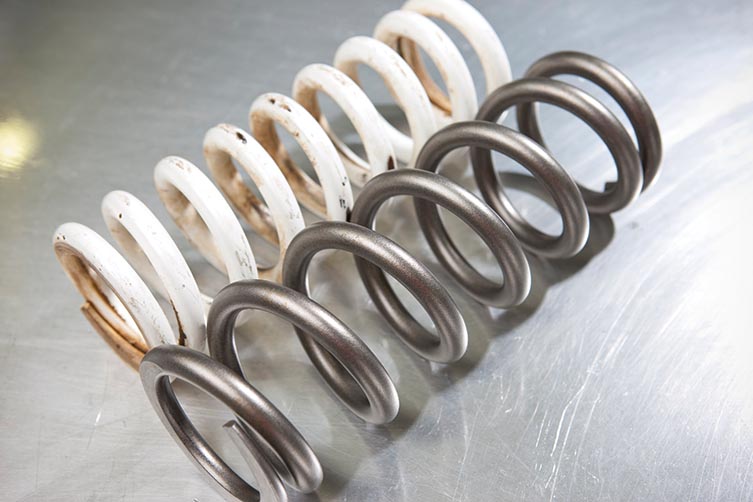
Your $500 will get you a set of fork springs and a shock spring, with just about enough spare change to have them fitted. Small changes in spring rate can result in big handling improvements, as the 300mm of suspension travel in full-size dirt bikes causes big geometry changes as it moves through its travel. In fact, for average riders, getting the correct spring rates is about 60% of the game.

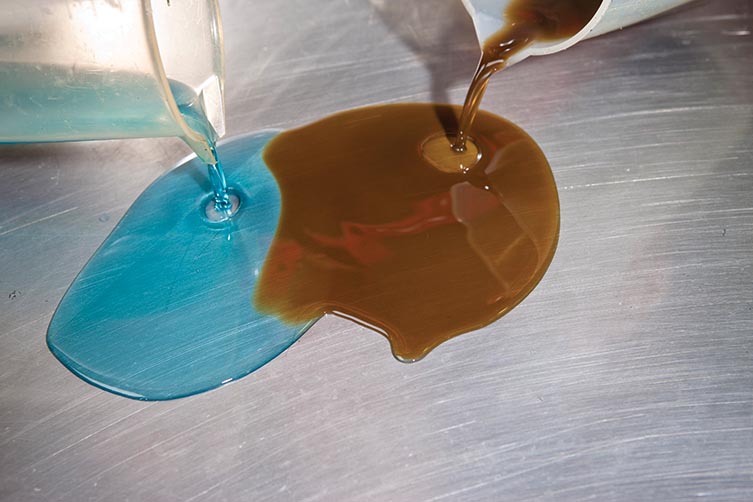
The dampening character of your suspension relies on oil for lubrication and as a medium to hold contaminants (and dirt). This stops orifices from being blocked, and prevents wear from occurring too quickly. Oil is also used for cooling. So by simply renewing the fluid, you will get the full benefit of the technology in your suspension.
While doing this, seals, bearings, bushes and valving can all be inspected for wear. By altering height (or volume), there is a small opportunity for personalisation when changing the fork oil, but I’d not suggest using a heavier or lighter viscosity to change the dampening as this will affect both the compression and rebound action. It’s best to stick with what the manufacturer recommends.

How much does a pipe cost? Some trick wheels? How many seconds do they take off your lap times? For a $1000 investment on your suspension, you can start making a serious impact on lap times. Not only that, you’ll also increase rider confidence and reduce fatigue. This is where you’ll have springs changed and some valving work done. Remember this: the springs are all about how much you weigh, while the valving is about who you are, what discipline you ride and what your set-up preferences are.
By discussing likes and dislikes of your bike’s handling with a suspension tuner, and what effects external adjustments have, it’ll pay big dividends in performance. Note that the $1000 parts and labour in this section assumes you’ve already spent the $500 on springs.

While the tools needed to fit upgrade kits are very similar to the tools used in servicing, the years of experience it takes to be proficient at suspension work isn’t so easy to photograph. There are a number of training courses on suspension if you are interested.
- Linkage bearings can be changed with basic hand tools and using a good vice as a press. Typically an aftermarket linkage and swingarm set is $280-$350. Don’t forget the steering head bearings, too.
- Suspension upgrade kits are a great alternative if you have most of the tools and are tech savvy or willing to learn. Expect the tools and kits to cost more than having the work professionally done. Tools are a long-term investment.
- Lowering links are available for some models, but not all.
- Lowering by linkage is an easy DIY, but lowering internally is not a DIY task. It’s more complex than re-valving as there are real geometry issues that need to be addressed correctly. This is best left to a specialist.
- If you are too light for the stock springs, you will find lighter springs that suit your weight will also effectively lower the bike.

If you’ve changed spring rates to suit your weight from the previous section, valving mods will bring you up to about $1000, depending on a few factors. “Revalving” is a common but very general term. In short, it refers to altering the shimming or valving specification of the fork and shock.
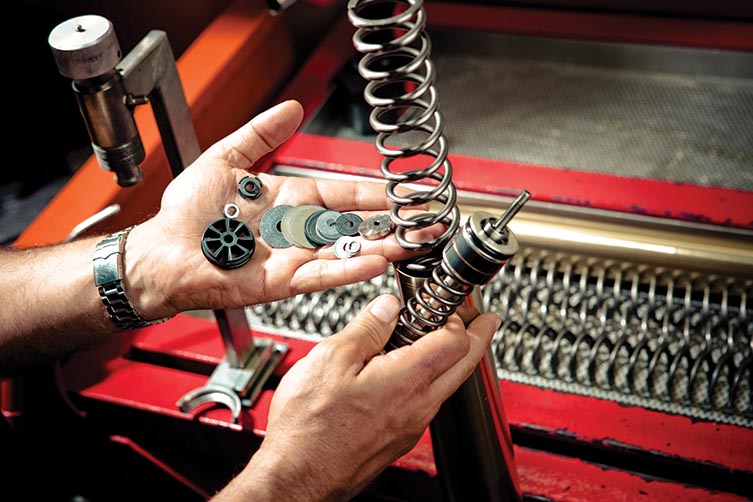
So whether you change one shim or 40 in a complete rework of the dampening circuits, it’s the same term with often wildly different results. Talk to other riders who have had work done by various companies to get some feedback on who did their work and how it performs. Look for tuners who ask questions as they’re the ones who seek to understand your needs

Bike lowering is an interesting subject that more tuners are approached about these days, and there are a few ways to achieve it. Lowering links are the simplest way, but not always a complete answer as they ignore the springs and valving in one cheap cure-all. Subframes can be lowered Ricky Carmichael-style if you find the seat is too close to your arse.
A more complete solution can be found in matching internal spacers for the fork and shock, then changing spring rates and valving to match. Lowering 10-60mm is the usual range, but aim to lower the least amount possible for your comfort, as lowering means you lose travel and your frame rails will be that much closer to the rocks!

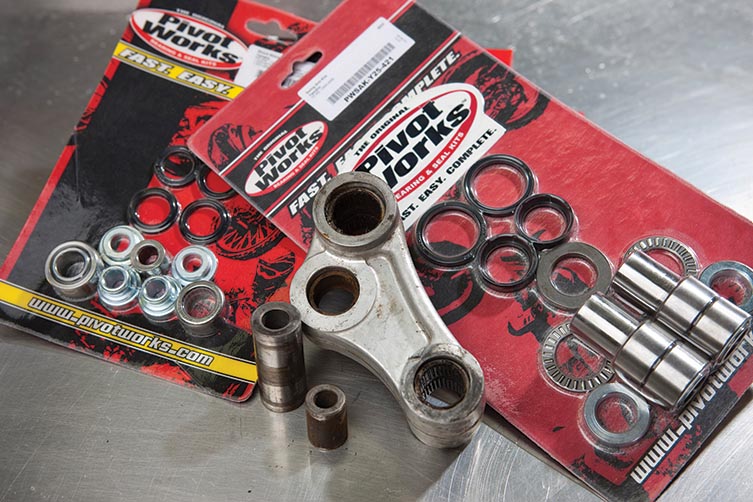
Linkages are one of those really boring maintenance jobs that tends to get put off until the shock just feels all wrong. The reality is you’ve been getting poor rear suspension performance for months without realising it. When you pull the shock out to have it serviced and notice the swingarm is stiff to move, or when you push the seat down and the rear of the bike sticks down, you know you have linkage woes.
If this is the case, grease will not be enough to do the job; there will be rusted bearings that need replacement. You can either buy every single bearing genuine from the manufacturer, or opt for an aftermarket kit to replace all the bushes, seals, bearings and spacers.

If you have the right springs for your weight and you’re looking for some suspension internals that will work better than OEM, then there are several options in the way of upgrade kits. Aftermarket companies such as Race Tech, RG3, MX Tech and Teknik supply suspension internals designed to enhance your ride and tailor the suspension to your needs.
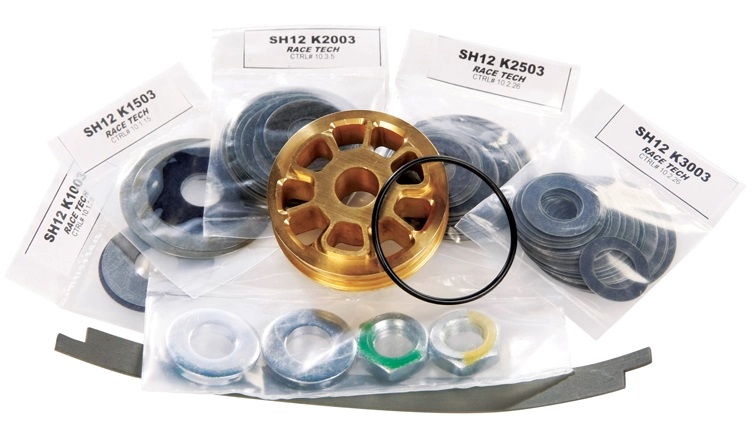
Some companies will sell you their kits outright; others will only fit them in-house, so you’ll need to check. Bear in mind that a suspension tuner with many years of experience will do a better job than an inexperienced technician, no matter how good the kit’s parts or instructions are. It’s a tuner’s experience that you are paying for, not just their time.

If you want to further enhance suspension performance, the next step is the addition of aftermarket parts. As well as paying attention to the major characters – springs and dampening – the extra budget allows us to look at reducing internal friction, changing spring seats and platforms for different oil flow in fork outer chambers, revised adjusters, and other parts to add to the overall performance.
Many national titles have been won on this level of suspension. Sure, you can go further, but this will get you something very special. This section is based on the assumption that you have a ‘like new’ set of suspenders. Damaged fork tubes, shock shafts and bodies will quickly eat up your budget.

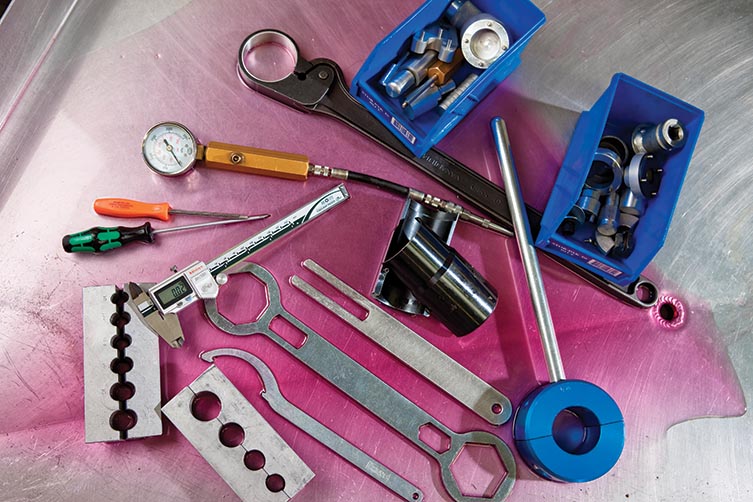
The full array of tools for all suspension jobs is quite a list – certainly more than a DIYer would buy first up. It’s better to start out with the tools you need for a particular job and see how you progress with your mechanical know-how.
- Fork bleeders are a useful addition, but there are pitfalls. The chrome-look stamped together ones tend to leak and fall apart. Look for the shorter, alloy units. RHK’s work well. They are all easy to snap off with any impact, even roost, so be careful.
- A high-speed camera capable of shooting 60 frames a second is great for diagnosing suspension problems. With shaft speeds up to 5m/second, you can’t see what’s happening with the human eye. The camera lets you know what adjustments to make and what really happened before the seat hit you in the arse.
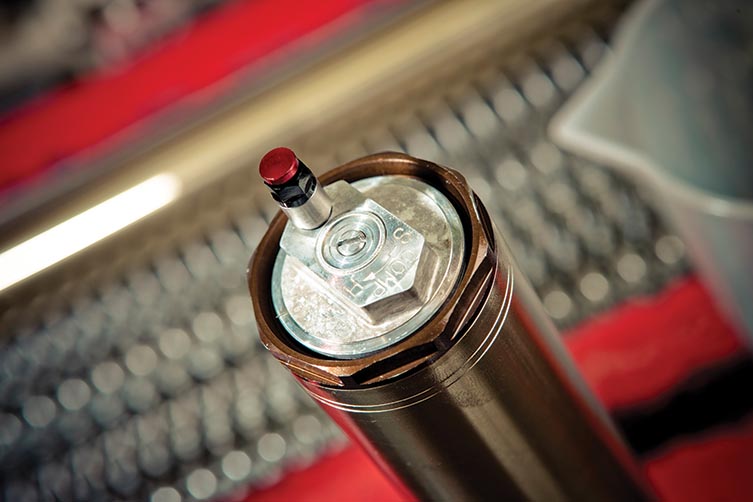
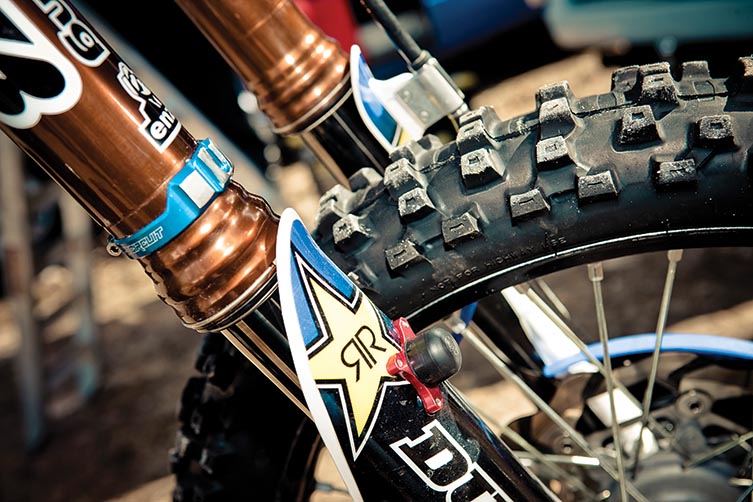
- Start buttons are also worth a try. They hold the front of the bike down by compressing the fork, and release when you brake for the first turn. Some riders love them, others are indifferent. But they’re we worth the experiment if it means you nail a holeshot.

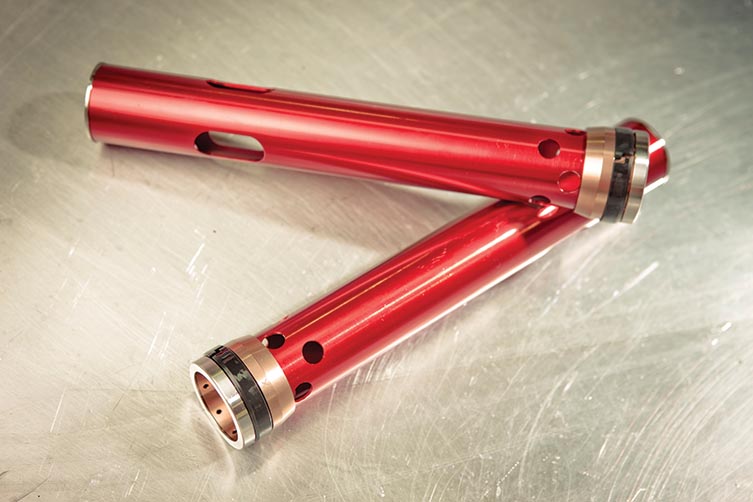
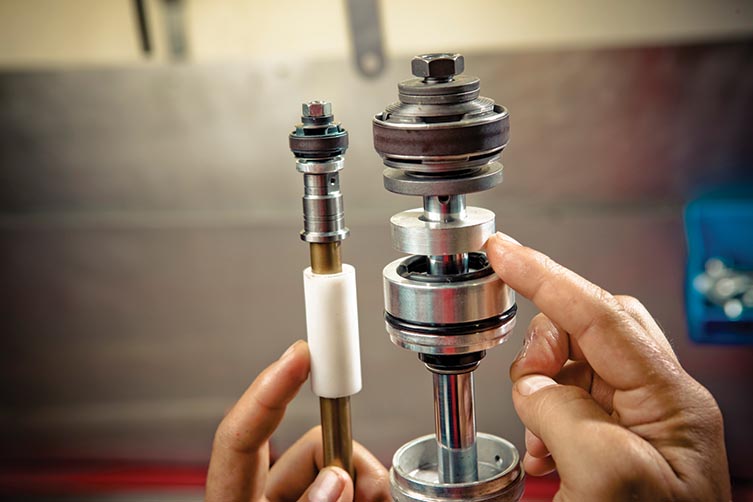
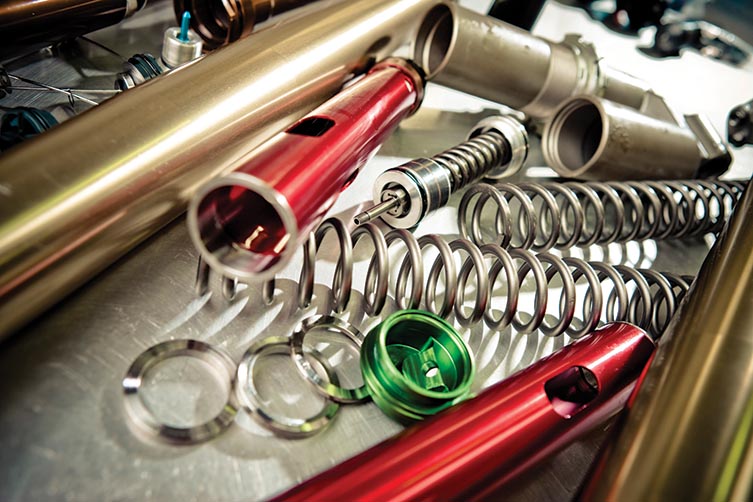
Someone discovered years ago that the spring perch (or seat) on twin-chamber forks provides a lot of dampening when it hits the oil in the outer spring chamber, resulting in a harsh spot in the mid-stroke that’s not possible to tune out.
These Pro Circuit National Preload Tubes provide a less noticeable spike in the fork. Factory Connection also has a high-flow seat for Showa forks. Interestingly, the factories are starting to catch on with high-flow seats in some late-model bikes. There is also a low-flow SX version. Both of these items need machining to fit, and Pro Circuit won’t sell the tubes unless you send your forks to their workshop.

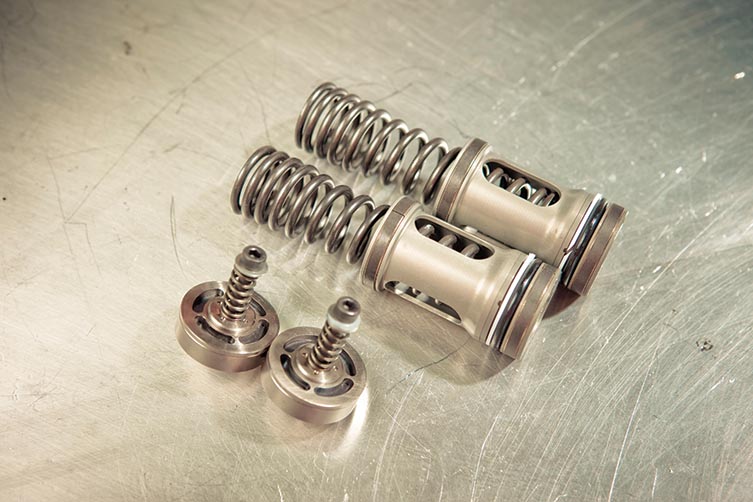
Showa and Kayaba twin-chamber forks have gained popularity but they are sometimes criticised for being harsh on small bumps. Progressive Inner Chamber Springs (ICS) are available to add position sensitivity to the normally speed-sensitive nature of dampening. So where the fork might have a standard 1.8kg/mm ICS, you can replace it with a 1.2-1.8kg/mm or a 1.4-2.4kg/mm.
Since its introduction, the KYB triple-chamber AOSS fork (late-model MX bikes with 48mm KYB) has seen some issues with cracking its plastic-free pistons. Billet alloy items solve the problem, bringing it back to a twin-chamber – like the original Showa 47mm fork. Apparently, the triple-chamber gets around the Showa patent.

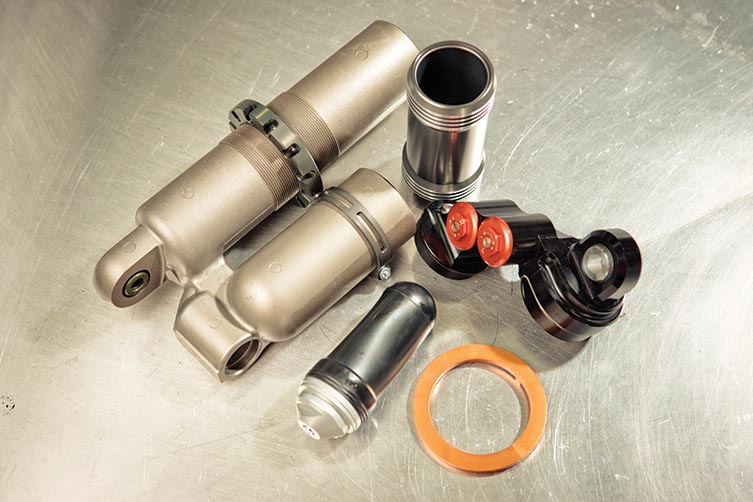
Love it or hate it, the KTM PDS shock is one of the most worked over shocks on the market, and has an arsenal of bling all of its own. A separate high/low adjustable cylinder head turns your stock shock into an SXS-type unit for less than one-third the cost of the SXS shock itself. Shock spring-rockers allow the shock spring to twist naturally, and help smooth the suspension action out.
There are bladder kits for the PDS (as a bladder tends to offer less resistance to movement than reservoir pistons) that work for sharp, choppy bumps. Factory Connection has a sealed rebound adjuster ring to stop dirt being ingested and seizing on the adjuster. And the shock lock-rings may look like bling, but are actually useful – the stock locking spring collars squeeze the soft alloy stock bodies if over-tightened, causing a tight spot in the shock operation. These lock-rings use the pin on the reservoir body to hold the collar, plus they look trick and have dirt-cleaning grooves.

There is really no end to what suspension can cost. Factory teams will test all year to find an elusive ‘better setting’. The good part is that most of the stock parts in your fork and shock are more than up to the task after changes to spring rates and valving, and a few additional parts to make up for any shortcomings. Having said that, if you really want a set of 50mm or 52mm forks ’cause you can just feel those little 48mm suckers flexing through the whoops in fourth, this bit’s for you.

The terms A-kit and B-kit suspension are often bandied about, but what does that mean exactly? Showa was the first to classify the A- and B-kit scenario. B-kit includes upgraded parts and coatings for your stock suspension, sold by Factory Connection, Pro Circuit and other dealers. A-kit is factory-level suspension, typically last year’s factory units in a low-volume production run.

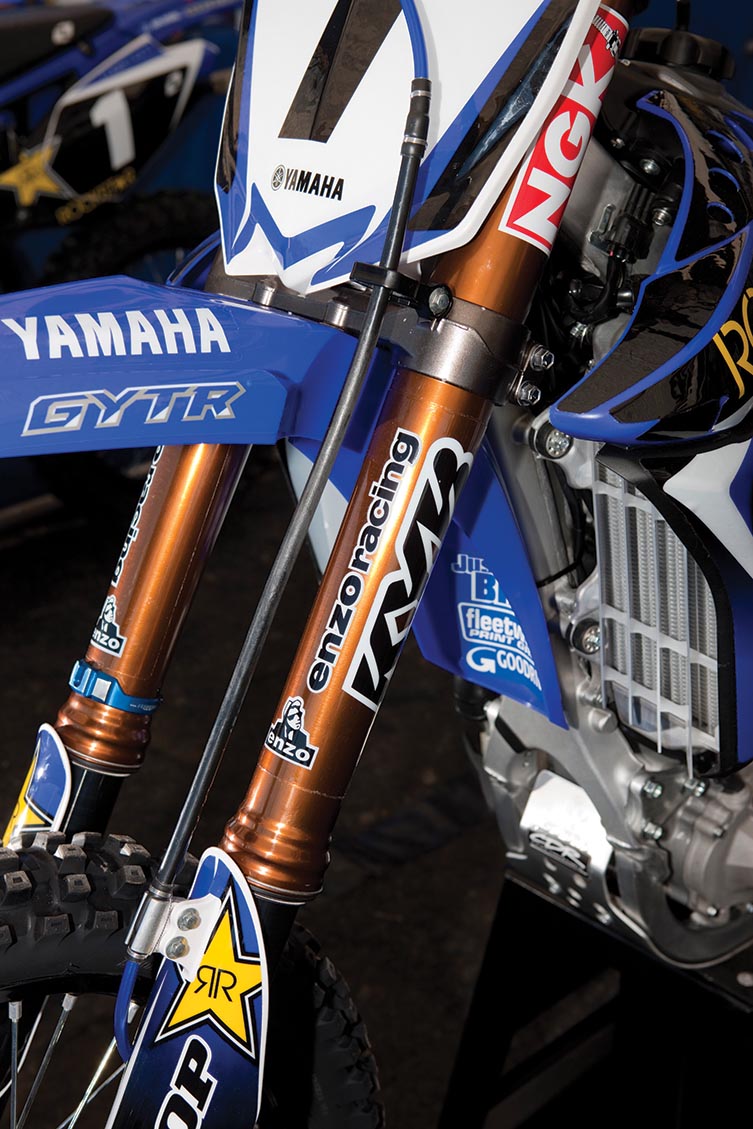
They have a few production parts but are mostly unique, running light materials and exotic coatings. Keep in mind they’re hard to get springs and componentry for. Price-wise, A-kits run at about $AUD10,000 plus triple clamps, springs and valving changes. B-kits are $AUD2200-$2500 and come valved and sprung for you. There is no standard for A- or B-kits, so what you get will depend on who you’re buying from. Enzo Racing (Ross Maeda) make their own kits for the AMA SX Lites class bikes where factory suspension is illegal. It’s not official ‘factory’, but it does have factory bits, a Kashima low-friction coating and in-house parts.
It’s not cheap as the fork internals and shock body travel from California to KYB in Japan for the Kashima coating, while the fork tubes go to France for the Diamond Like Carbon (DLC). The forks are $AUD6500 and the shock $AUD3000 to purchase outright. It comes valved and sprung for you and fits stock clamps. KYB sells complete factory forks and shocks through dealers including Technical Touch and Enzo, but they need to be sprung and valved to suit you.

Ohlins started coating fork tubes with Titanium Nitride about 20 years ago. It was gold in colour, tough and slippery. But it’s an expensive process and Ohlins reject-rate on the coating is high – hence the steep price.
Diamond Like Carbon (DLC) has gained in popularity, as has Kashima – a proprietary KYB coating – and others such as Titanium Cobalt and Nickel Teflon, along with hard anodizing with Teflon additives. These coatings are often the difference between production suspension and factory parts. Most come from the aerospace industry and are under constant development.

Enzo Racing has made external sub-tanks for many years to manipulate the air spring in forks. KYB tried to make a production version, but it was watered down to a bladder fork that we saw in CR125s and RM250s that was not so hot. Enzo still makes the sub-tanks and they are still very good, with lots of other companies – such as Air Cells – copying his idea. There are a few versions of the sub-tank for shock absorbers. Factory Connection makes a straight reservoir to increase the capacity, and there are adjustable tanks so the nitrogen flow can be manipulated as well.
For the most part, Ohlins has this section of the market covered. In Europe and NZ, it’s common to see Ohlins on a lot of MX bikes – about as common as aftermarket wheels in Oz. In the USA, Ohlins never really took off. Their new TTX fork cartridge kit is good, as is the TTX shock, but no teams run them here for some reason. The new player in this market is Fox, which have been the subject of some good reports, and they also have a fork coming before long. Hopefully it’s not imperial as we are so used to metric that the idea of imperial spanners, shims and shaft sizes is not pretty.

Nick Dole owns and operates Sydney-based suspension business, Teknik Motorsport. In the past decade, the man has tuned suspension for the Ballard’s Offroad team, performed engine and suspension work on Australian Safari-winning GHR Honda XR650s, run a Kawasaki Pro Lites team in the Aussie MX Nats, worked as an independent technical consultant for magazine test programs, and dealt with just about every punter and butchered dirt bike to ever roll into a workshop. We reckon that qualifies him to offer up credible advice about how to get the most out of your spend at the local workshop.
